Skip to content
Michael Mauderer
Photography
Menu
Home
About
Contact
Blawith
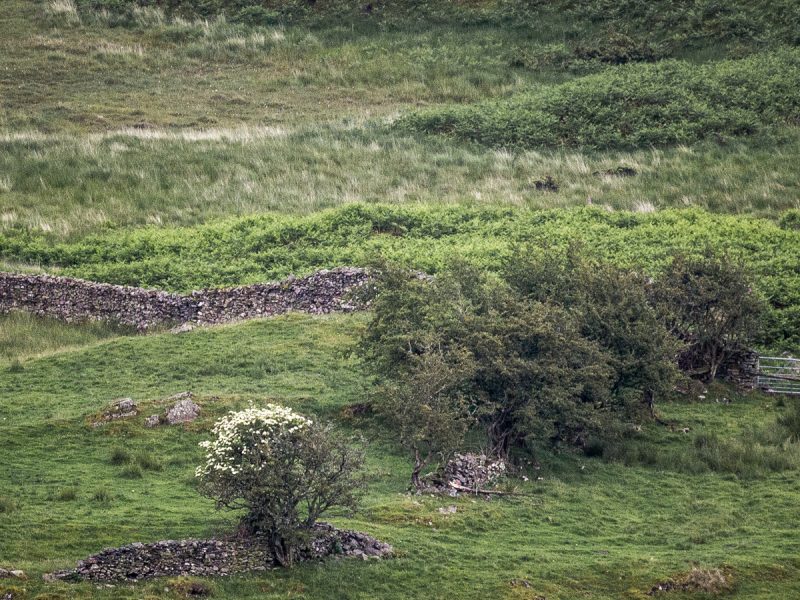
Blawith Square VII
Blawith Square VII
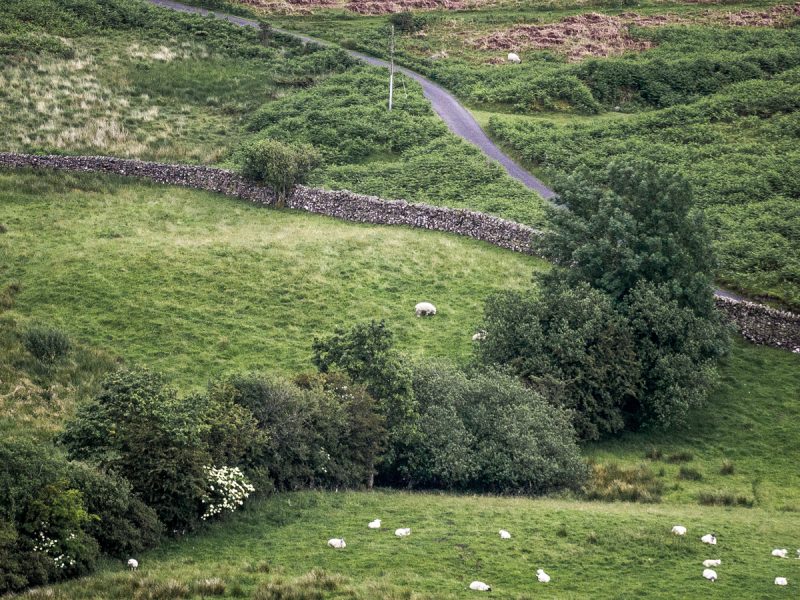
Blawith Square VI
Blawith Square VI
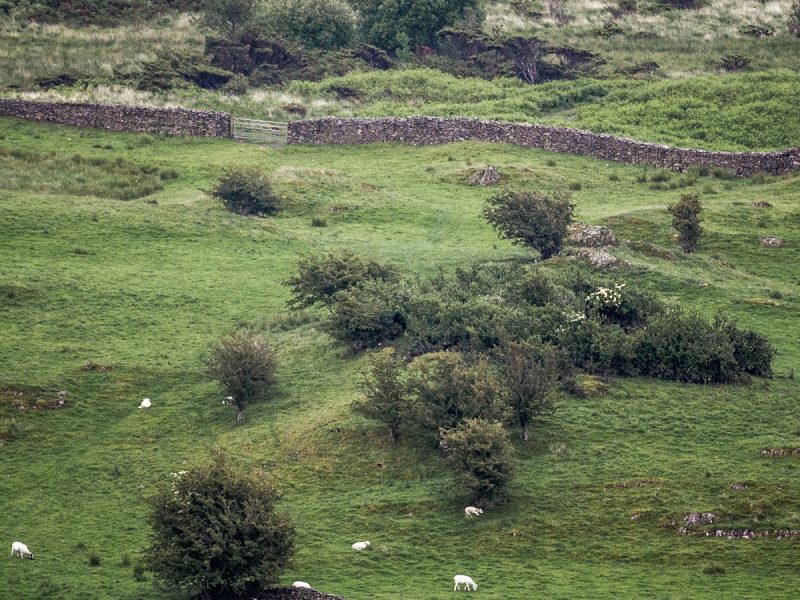
Blawith Square V
Blawith Square V
Blawith Square IV
Blawith Square IV
Blawith Square III
Blawith Square III
Blawith Square II
Blawith Square II
Blawith Square I
Blawith Square I